
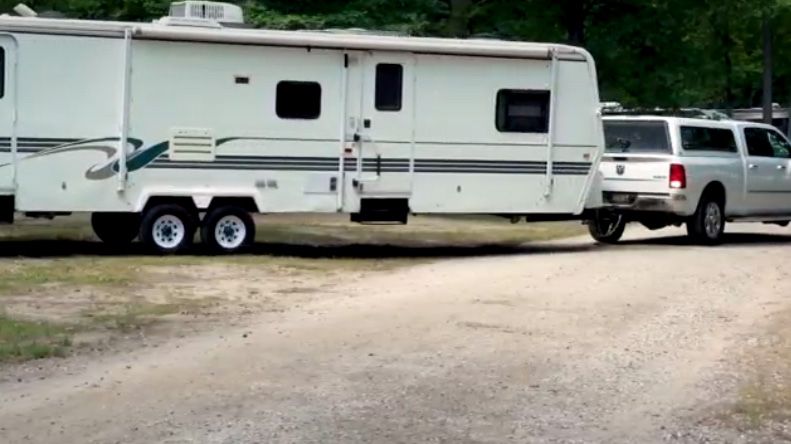
Step 1 of 9Park the RV
Park with the drain outlet near the sewer. Level the RV and put the slides out before you measure.

Trade the sewer hose for 3″ PVC pipe. Flexible Fernco fittings clamp the pipe from your RV’s gate valve to the campground sewer, with no glue.
The same 3″ Sch 40 PVC used for house drains. Run 3″ Sch 40 PVC from the RV to the sewer, and let Fernco’s flexible fittings make every connection.
Stainless steel band clamps hold the pipe. Loosen them and the fittings come right off.
The flexible elbow and couplings take a little misalignment, so the run doesn’t have to be perfect.
 RVKIT3 QwikCamp kit with pipe stands
One adapter fits 4″ threaded, 3.5″ and 3″ plastic sewer inlets, including hard-to-reach angles.
Every part in the kit, top to bottom.
If you’re parked for the season or for weeks at a time, a rigid line is set up once and stays put.
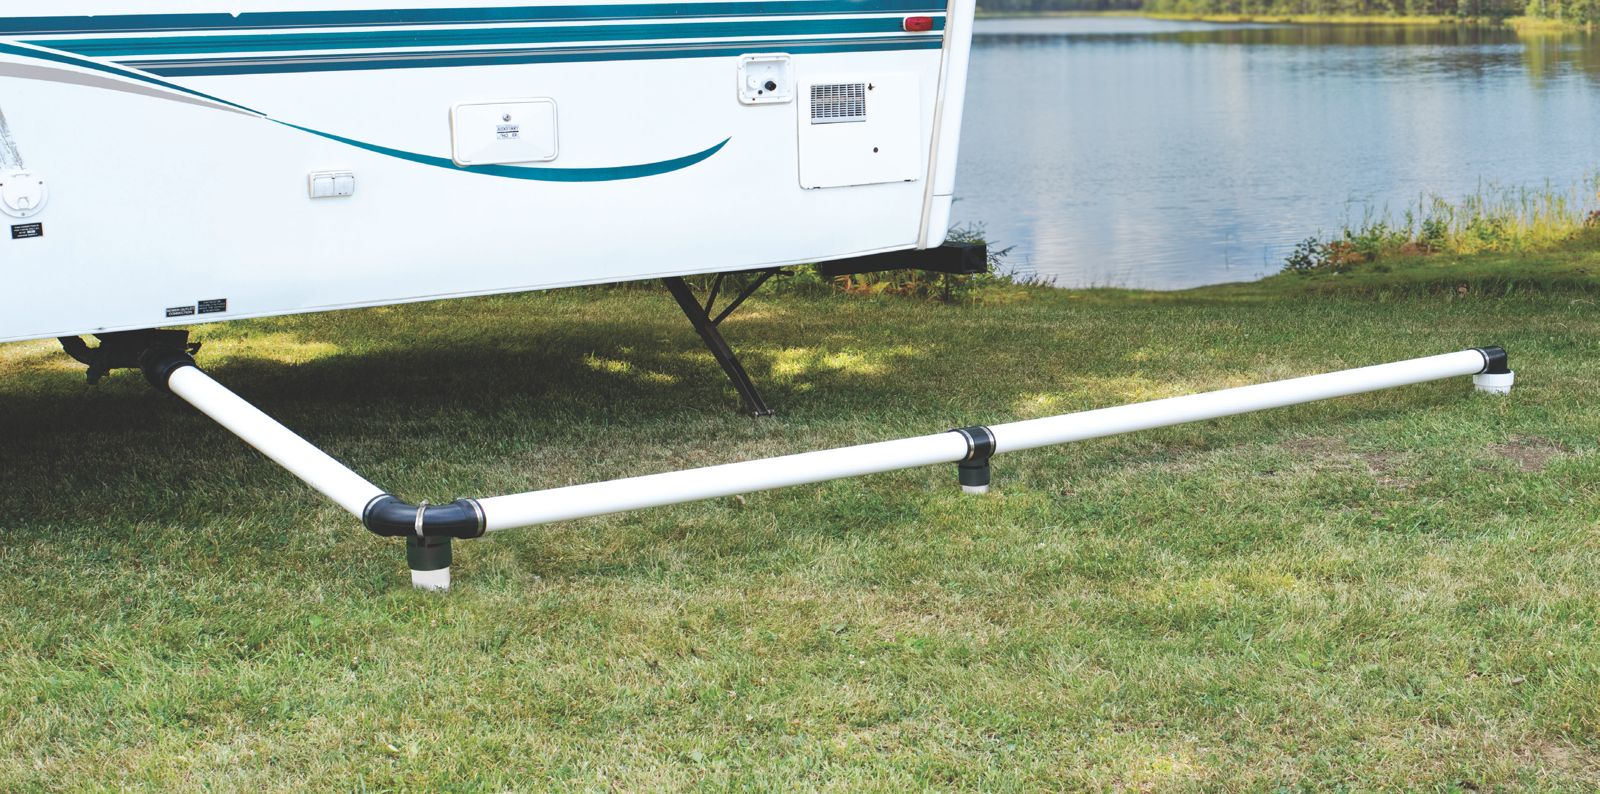
The fittings are reusable. The pipe is cut to fit each site, so plan on cutting new pipe or keeping your lengths if you return to the same spot.

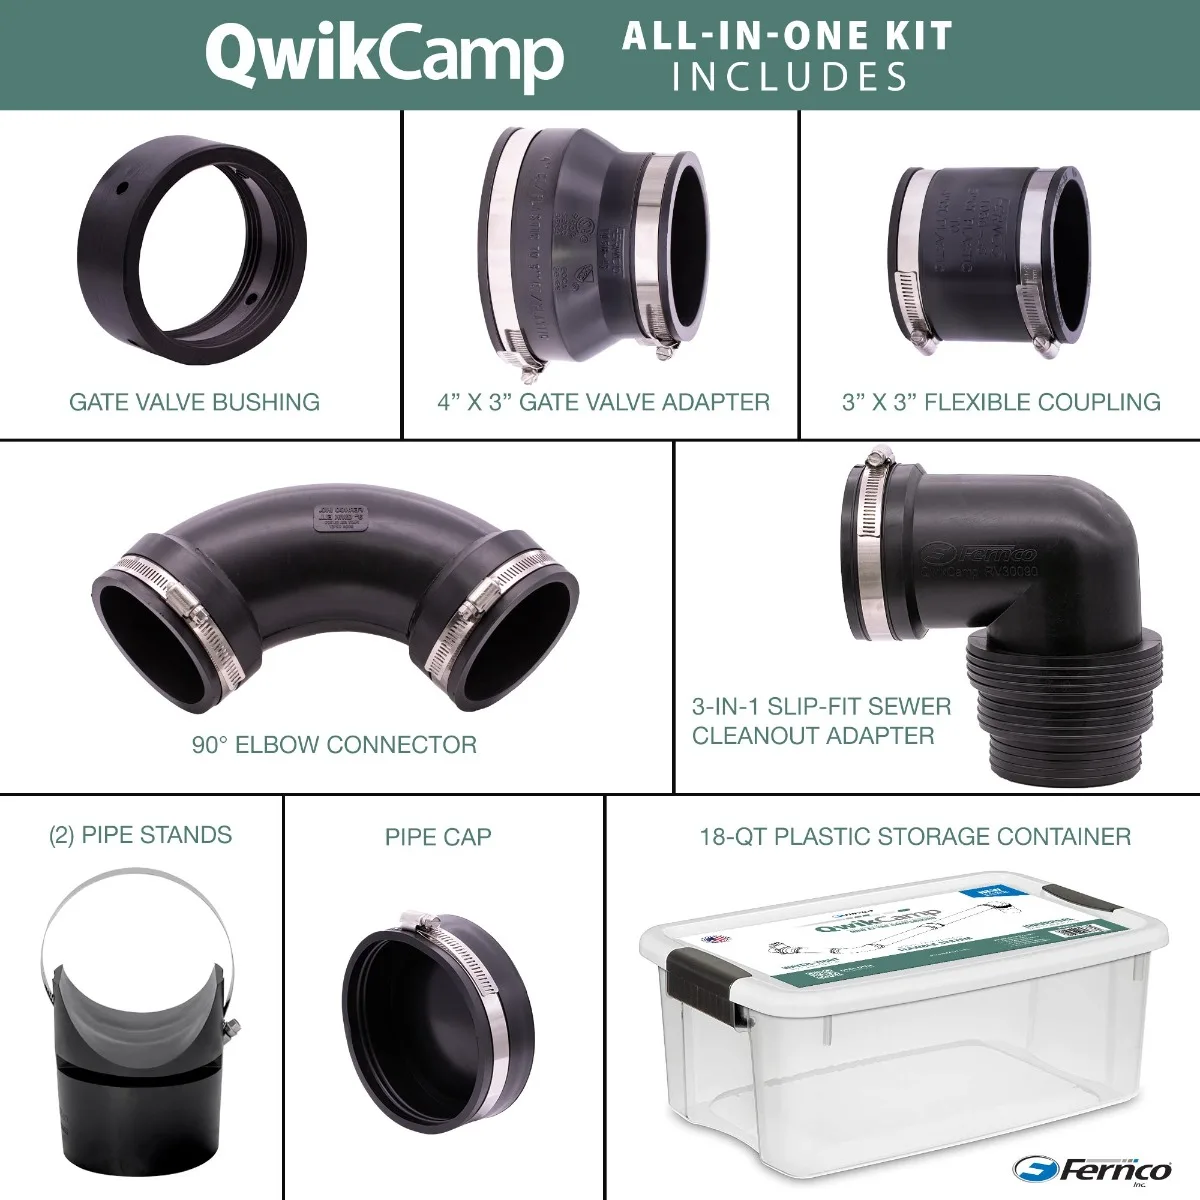
RV sewer connection kit for 3″ PVC
What’s in the kit
3″ Sch 40 PVC pipe is not included.
Black or white, with or without pipe stands. White matches Sch 40 PVC.
| Part | Kit | Color | Pipe stands | Buy |
|---|---|---|---|---|
| RVKIT1 | Kit, 6 pieces | Black | No stands | GreyDock Amazon |
| RVKIT1-W | Kit, 6 pieces | White | No stands | GreyDock Amazon |
| RVKIT3 | Kit with stands, 8 pieces | Black | 2 stands | GreyDock Amazon |
| RVKIT3-W | Kit with stands, 8 pieces | White | 2 stands | GreyDock Amazon |
| RVKIT4 | Pipe stands, 2-pack | Black | 2 stands | GreyDock Amazon |
| RVKIT4-W | Pipe stands, 2-pack | White | 2 stands | GreyDock Amazon |
QwikCamp is sold online at GreyDock and Amazon.
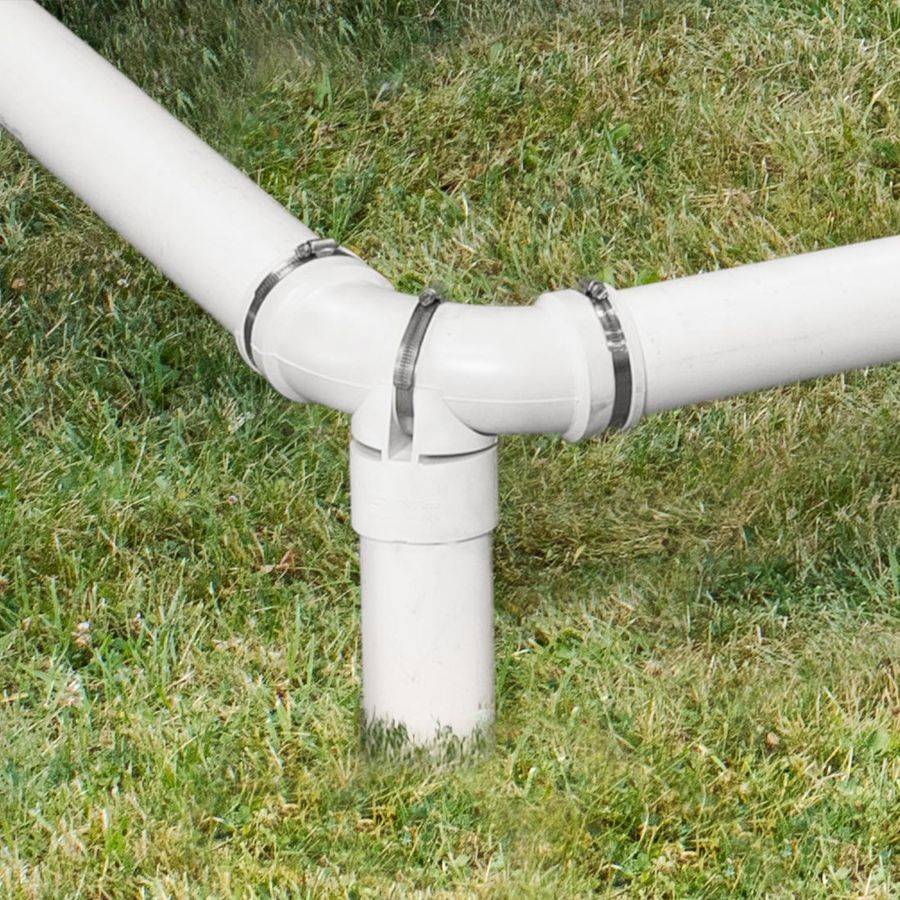
A stainless steel clamp holds the 3″ pipe in the stand. The base takes a short piece of 2″ or 3″ PVC (not included) as a leg. Cut each leg to height to give the line a steady downhill run to the sewer.
Set up a QwikCamp line from the RV to the sewer.
You’ll need a hand saw, a 5/16″ nut driver or screwdriver, a utility knife and 3″ Sch 40 PVC pipe.
Park with the drain outlet near the sewer. Level the RV and put the slides out before you measure.

Line up the openings in the gate valve bushing with the tabs on the bayonet fitting and twist it on.

Put the large end of the 4″ x 3″ adapter over the bushing and tighten the band. Don’t overtighten.
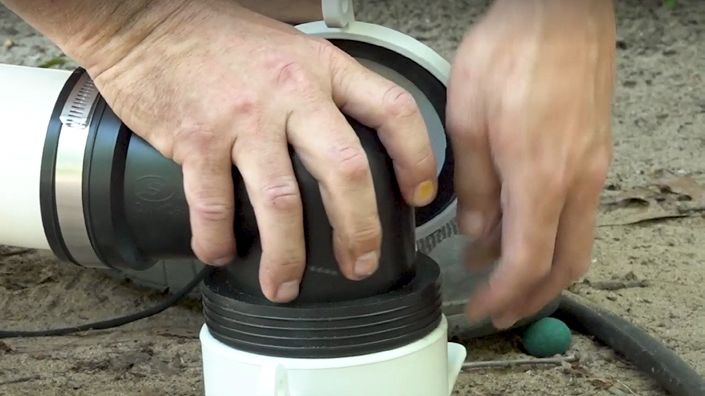
Slide the 3-in-1 adapter into the sewer inlet.

Lay the pipe out between the RV and the sewer. Use the coupling to join pipe on longer runs.
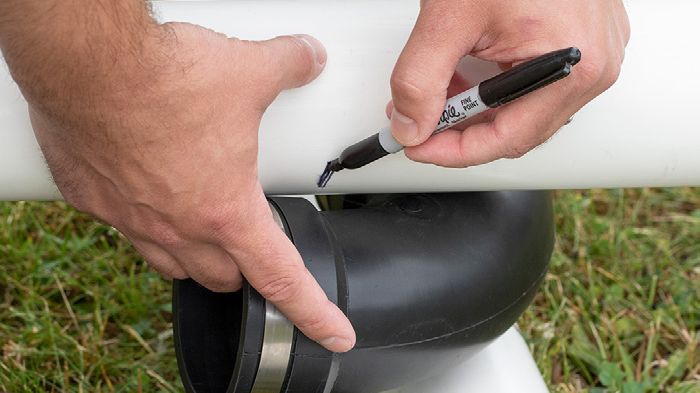
Mark each length using the end of the fitting socket as your guide.
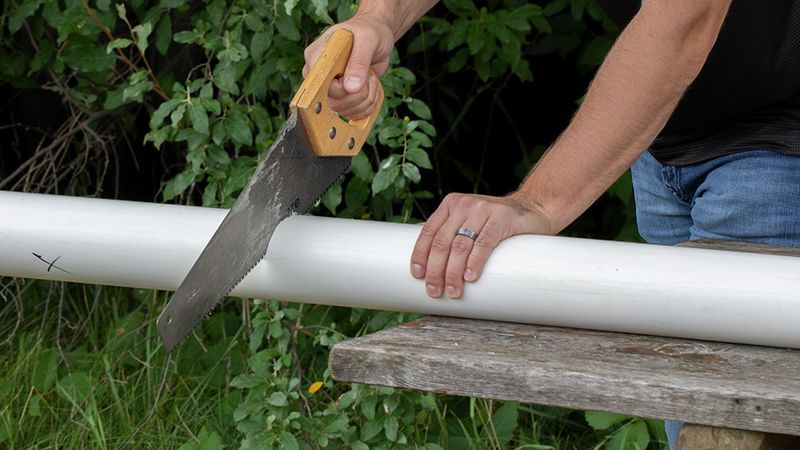
Cut each piece with a hand saw, then deburr the end with a deburring tool or utility knife.

Connect the pipe from the RV to the elbow and on to the sewer adapter. Tighten each clamp.
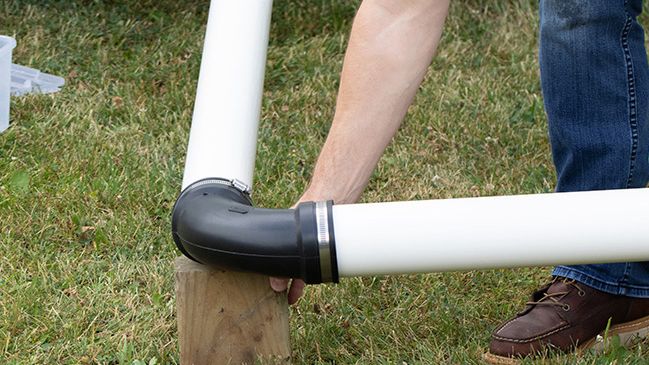
Set a stand or block under each joint so the line runs downhill to the sewer. Check every joint for leaks.
Give the line at least 1/8″ of drop per foot. 1/4″ per foot is better.
Support each joint, and the pipe about every 4 ft, so it can’t sag.
Keep the black tank valve closed until it’s time to dump. Dump black first, then gray to rinse the line.
Disconnect the line before you bring in the slides, re-level or move the RV.
Like any sewer line, it can freeze. In the cold, insulate the pipe or use heat tape.
| Pipe | 3″ Sch 40 PVC (not included). The install guide uses two 10 ft lengths. |
| RV connection | 3″ bayonet gate valve outlet, with the gate valve bushing and 4″ x 3″ adapter |
| Sewer connection | 4″ threaded (FIPT), 3.5″ and 3″ plastic inlets, with the 3-in-1 slip-fit adapter |
| Clamps | Stainless steel |
| Pipe stands | Hold 3″ pipe. Legs from 2″ or 3″ PVC (not included) |
| Storage | 18-quart plastic container |
| Colors | Black or white |
| Tools | Hand saw, 5/16″ nut driver or screwdriver, utility knife |
| Made in | USA |
Rigid pipe holds a steady slope, and its smooth inside wall helps waste flow. It won’t kink or get crushed. It’s a good fit when you’re parked for weeks or a whole season.
No. Every connection is a flexible fitting with stainless steel clamps. Loosen the clamps to take it apart.
3″ Sch 40 PVC. Measure the distance from your RV’s outlet to the sewer. The install guide uses two 10 ft lengths.
The gate valve bushing fits the standard 3″ bayonet outlet used on RV waste valves.
The 3-in-1 adapter fits 4″ threaded inlets and 3.5″ and 3″ plastic inlets, the common campground sizes. It also handles hard-to-reach angles.
Yes. The fittings and stands pack into the storage tub. The pipe is cut to fit each site, so keep your lengths for the same spot or cut new pipe at the next one.
RVKIT1 has every fitting you need. You supply the 3″ PVC pipe. RVKIT3 adds two pipe stands. Already have a kit? Add stands with RVKIT4. All come in black or white.
Keep the black tank closed until it’s time to dump, so solids flush out with the liquid. Dump black first, then gray to rinse the line.
It can, like any sewer line. In freezing weather, insulate the pipe or use heat tape, and keep the line sloped so nothing sits in it.
The QwikCamp sales sheet and the step by step installation guide.

